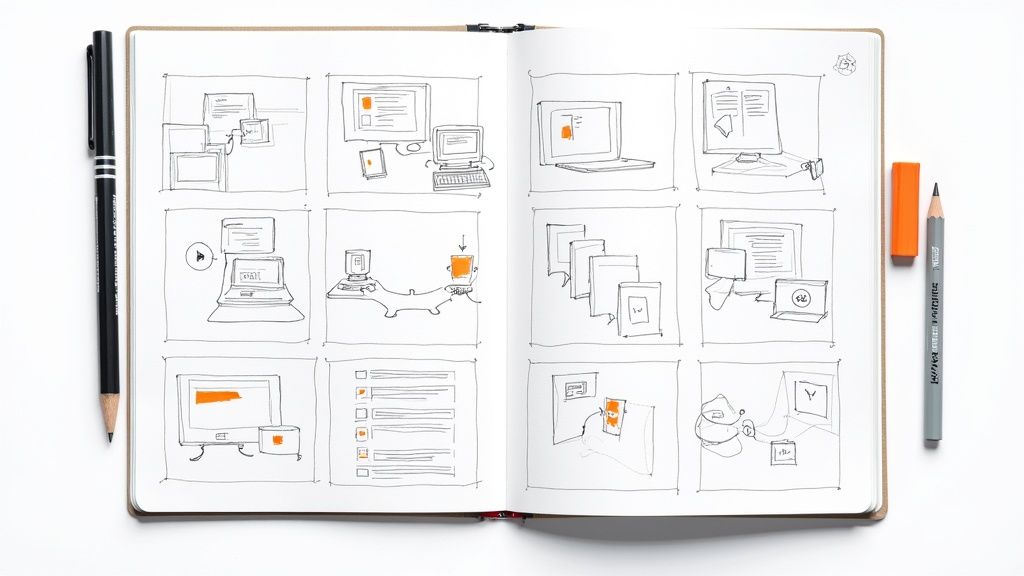
Think of an eLearning storyboard template as the master blueprint for your entire online course. It's the document where you map out everything before you ever touch an authoring tool like Articulate Storyline or Adobe Captivate. We're talking on-screen text, visuals, audio scripts, branching scenarios, and every little interaction. It’s the essential planning document that guarantees a smooth, cohesive learning experience.
Before you even dream of opening up your authoring software, we need to talk about the single most critical tool in an instructional designer's kit: the storyboard. This is the foundational step that turns abstract learning objectives into a concrete, interactive product that’s ready for your Learning Management System (LMS) or Learning Experience Platform (LXP).
Trying to build a course without one is like building a house without a blueprint. It’s a recipe for chaos, plain and simple.
I've seen it happen more times than I can count. A subject matter expert (SME) keeps adding "just one more thing" directly into a course that’s already being built. What was supposed to be a quick microlearning module suddenly spirals into a bloated, unfocused mess. That's scope creep, and it’s an absolute nightmare for budgets and timelines.
Now, imagine doing it the right way. You walk into the kickoff meeting with a detailed storyboard. Stakeholders can see the entire learning journey laid out, screen by screen. This is your chance to hammer out the content, fine-tune the interactions, and get sign-off on the narration scripts.
Here’s the bottom line: making changes in a Word doc or a spreadsheet is fast and free. Rebuilding slides and interactions in Articulate Storyline or Adobe Captivate is painful, slow, and expensive.
A well-crafted storyboard is your best defense against endless revision cycles. It forces clear communication and alignment from the start, saving countless hours and ensuring the final product actually meets the initial learning goals.
A good storyboard is so much more than just a script. It’s where you bring instructional design theory to life and figure out how it’ll work with the technology you have. Your template is the perfect place to intentionally plan out the elements that will actually engage your learners, long before you’re bogged down in software settings.
This kind of structured planning helps you nail down the essentials:
At the end of the day, using an eLearning storyboard template isn’t just an extra administrative step. It’s the one step that makes every other part of the process run smoother, faster, and with better results. You're simply shifting the heavy lifting to the planning phase, which is exactly where it belongs.
Let’s be honest: a great storyboard template is so much more than a simple Word doc. It’s the master plan, the single source of truth that translates your instructional design ideas into a tangible course your team can actually build. It’s the crucial bridge between your concept and what the learner ultimately sees in their LMS or LXP.
Think of it this way. A weak template might just have two columns: one for "what's on screen" and one for "narration." That’s a start, but it leaves way too much guesswork for your developers. You’ll end up in a frustrating cycle of feedback loops and endless revisions. A truly solid template anticipates questions and provides the answers upfront.
To avoid that back-and-forth, your template needs to have dedicated spaces for all the critical details. I’ve found that including these non-negotiable elements makes the entire development process run smoother for everyone involved.
infographic_v3.png) or links to stock photo sites.To help you get started, here’s a quick-glance table of what I consider the absolute must-haves for any storyboard template you build.
Having these elements laid out clearly means less confusion and a much faster hand-off from design to development.
Your storyboard is the perfect place to put instructional design theory into practice. For example, you can bake microlearning principles right into your template. If you design it so that each screen focuses on just one key learning objective, you're naturally creating those powerful, bite-sized learning moments that learners actually prefer.
A truly effective template forces you to think like a developer and a learner simultaneously. It should detail everything from complex branching scenarios in Articulate Storyline to the specific accessibility features needed, like alt-text for images and screen reader instructions.
This structured approach isn't just about being tidy; it's about being incredibly efficient. The proof is in the numbers—a detailed storyboard directly impacts your project timeline and budget.
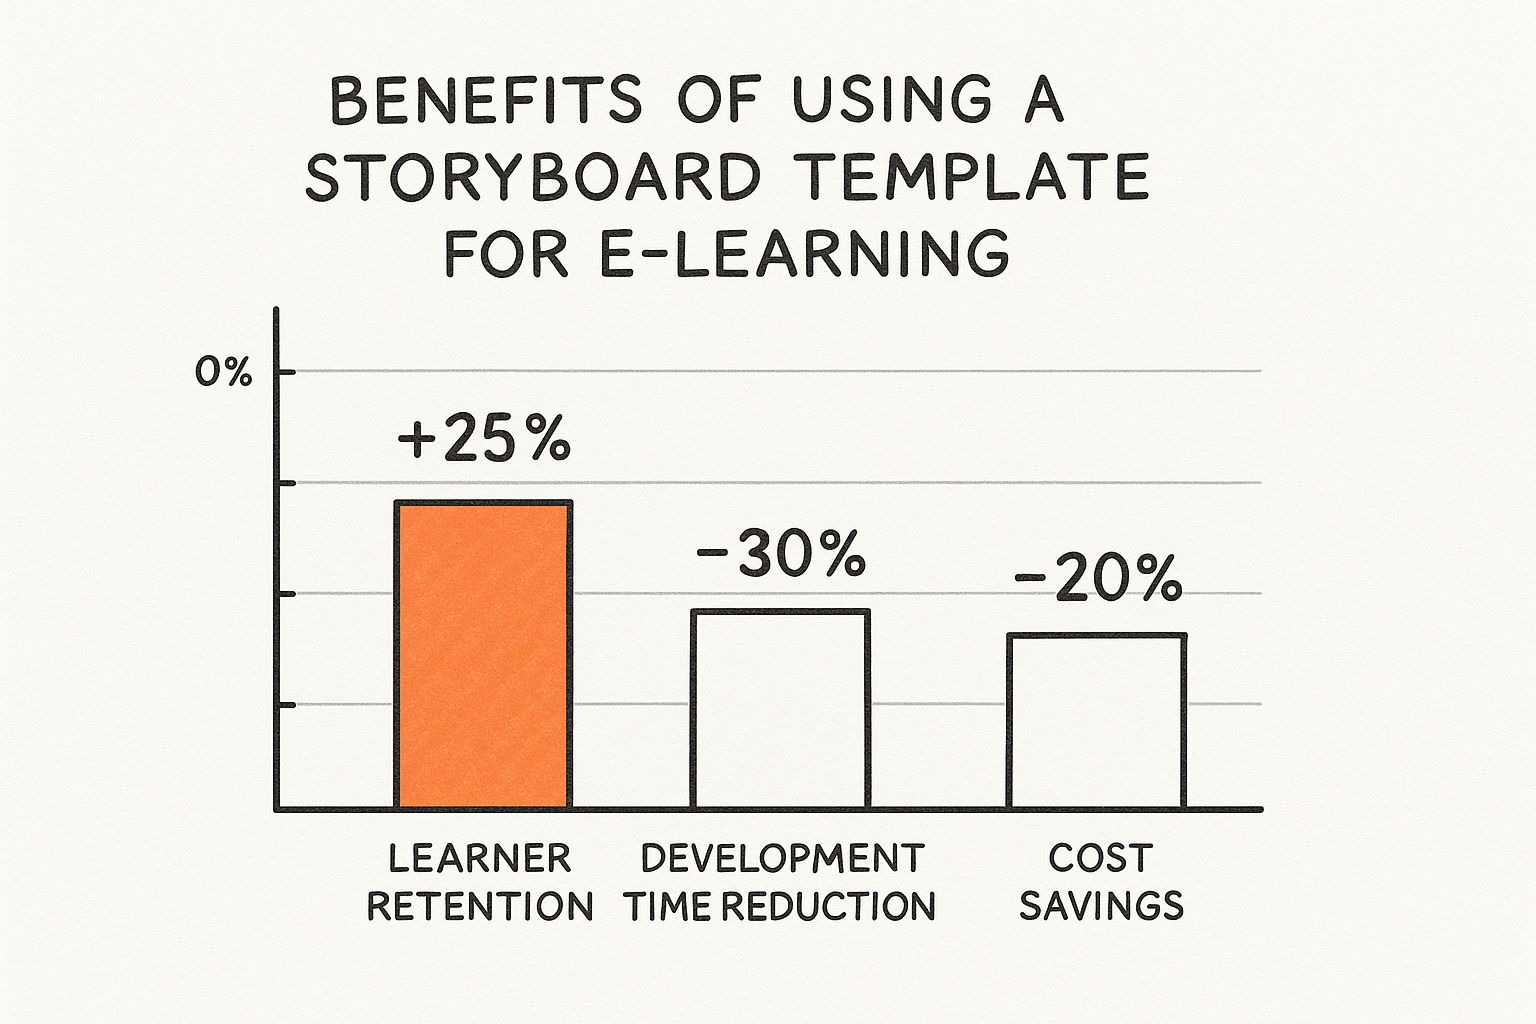
The data speaks for itself. Meticulous planning at the storyboard phase can slash development time by as much as 30%. That’s a huge win for any project. This idea of front-loading the detailed work is a cornerstone of many design methodologies. If you want to see how this planning fits into a bigger picture, check out our guide on the ADDIE model for training: https://relevant.training/blog/addie-model-for-training.
There’s a reason this has become a standard practice. As eLearning has exploded into a massive industry, instructional designers have leaned on templates to bring order to the chaos. When a single hour of high-quality eLearning can take anywhere from 40 to 158 hours to produce, you can’t afford to wing it. By nailing down every detail upfront, you ensure consistency, sidestep costly revisions, and ultimately build a much better learning experience from the ground up.
A truly great storyboard template for eLearning does more than just list out your assets. It’s the blueprint for a genuine learning journey. We're trying to move beyond those passive, text-heavy courses and build something that actually pulls the learner in. This is where you get to bake solid instructional design theory right into the bones of your course.
Instead of just planning which text and images go on which slide, a good template forces you to think about the how and why. It's the difference between handing someone a textbook and guiding them through an interactive workshop.
This is where the magic happens. Proven learning frameworks aren't just academic concepts; they are your secret weapons for creating training that actually sticks. When you structure your template around a solid model, you're pretty much guaranteeing a powerful and effective learning flow from the get-go.
Take the 70-20-10 model, for example. It’s a fantastic way to shape your template’s structure. The whole idea is that people learn best through a mix of different activities:
Imagine building sections into your template that are specifically dedicated to each of these. Suddenly, you're not just creating slides; you're designing a balanced, engaging experience. This isn't just a hunch; many of us in the field use these percentages to structure course time because we know it helps with retention. If you want to see this in action, check out how platforms like Thinkific incorporate these ideas into their course-building tools.
This kind of intentional design ensures your course is built for the way adults actually learn. You’re pre-planning for engagement by creating dedicated space for practice, peer interaction, and focused content delivery.
Another absolute powerhouse is Robert Gagne's 9 Events of Instruction. I love this one because it’s basically a step-by-step recipe for a great learning experience, and your storyboard is the perfect place to map it all out.
When you design a template that prompts you to address each of Gagne's events, you're building a quality checklist right into your workflow. It's an almost foolproof way to make sure you never miss a critical step, from grabbing their attention at the start to checking their understanding at the end.
Think about adding specific sections or prompts in your template for each event:
When you map your content against these nine events, you naturally create a flow that just makes sense from an educational standpoint. To really get a handle on this, I'd recommend diving into some foundational instructional design best practices: https://relevant.training/blog/instructional-design-best-practices.
At the end of the day, a thoughtfully designed storyboard template elevates you from just a content collector to a true learning experience architect.
Your storyboard template for eLearning is really only as good as the software you use to bring it to life. Sure, you can absolutely get by with a classic Microsoft Word document, but let's be real—today's instructional design projects need tools that are more collaborative and visual. The right tool can be the difference between a smooth-sailing project and a total bottleneck.
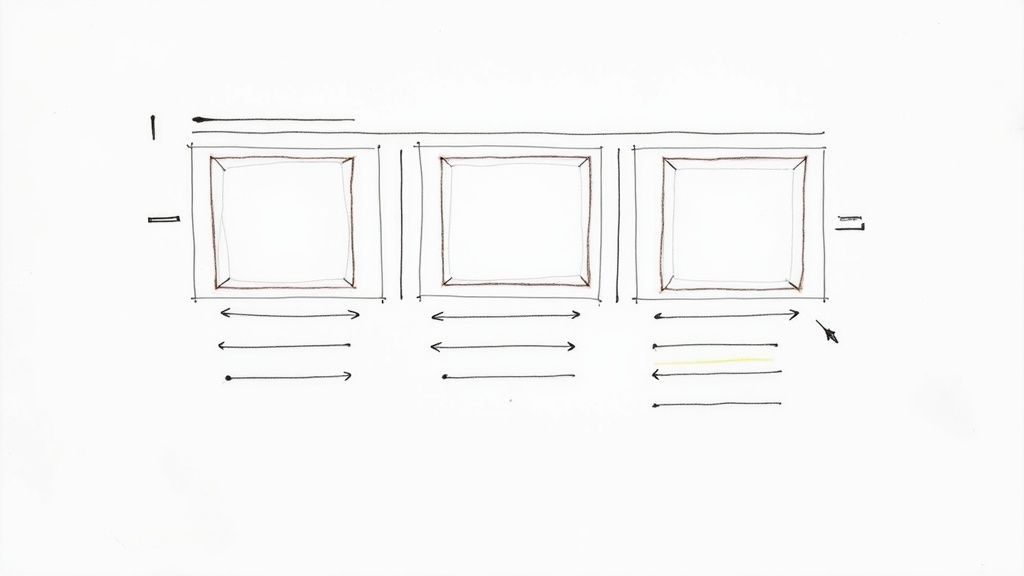
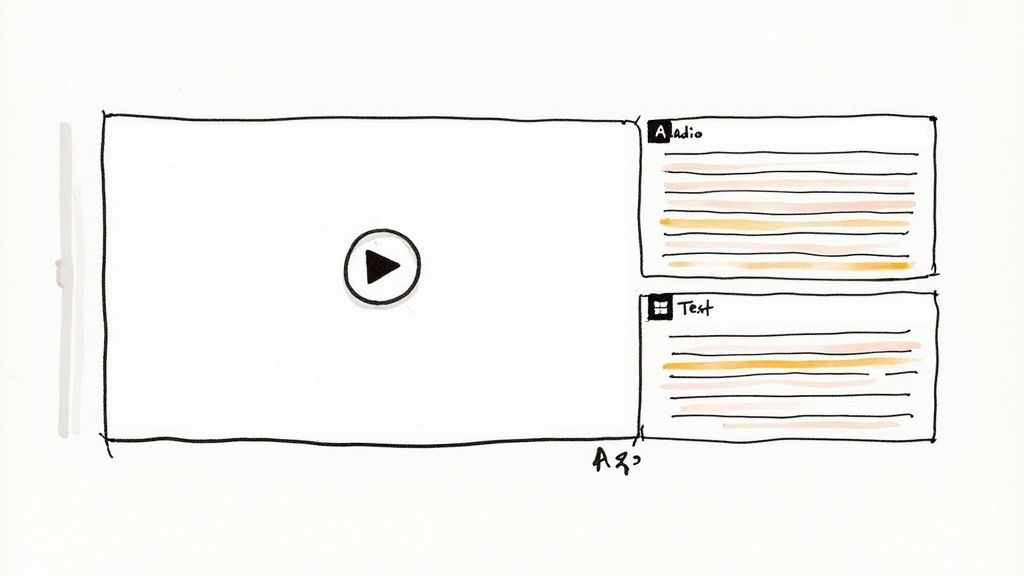
The truth is, text-only storyboards are pretty much a thing of the past, and for good reason. When you're building a course with complex branching, videos, and interactive elements, a wall of text just doesn't cut it. It can't possibly capture the full experience, which is why visual storyboarding has become the gold standard.
When you create a storyboard in a tool like PowerPoint or Google Slides, you're not just describing a screen—you're actually creating a rough mockup of it. This one change makes a world of difference. It instantly clears up communication between you, your subject matter experts (SMEs), and the developers who will eventually build the course in an authoring tool like the Articulate Suite or Adobe Captivate.
Think about it: when an SME can see what the slide is going to look like, they can give you much better, more specific feedback. This is a huge reason why visual templates have taken over. It gets everyone focused on the content and flow instead of getting lost trying to decipher a bunch of technical notes.
The trend is undeniable. Roughly 65% of eLearning developers now prefer visual storyboards because they do a much better job of communicating the sequence and design intent. Getting this right from the start can cut down review cycles by an average of 20%, which is a massive time-saver on any project.
So, what's the best tool for you? Honestly, it depends. There’s no single "best" option—it all comes down to your project's complexity, your team's workflow, and your budget.
Here’s a quick look at the most common choices:
At the end of the day, pick the tool that makes communication easiest. For a quick microlearning module with just a few images, a simple text-based template is perfectly fine. But if you're tackling a complex, scenario-based course in Storyline, a visual storyboard in PowerPoint is non-negotiable. It’s the only way to make sure your entire team is on the same page from day one.
Let's be real, AI is here to stay, and for instructional designers, it can be an incredible creative partner. When used the right way, it can seriously slash the time it takes to get an eLearning storyboard template off the ground. Think of it as a way to blast past the blank-page-dread and get a solid draft going in a fraction of the time.
This isn't about letting a robot do your job. Not at all. It’s about offloading some of the grunt work so you can pour your energy into the stuff that really matters—the strategic design, the learner’s journey, and those lightbulb moments that make a course truly effective.
The secret to getting great content out of AI is all in how you ask. Vague questions get you bland, useless text. But if you get specific and give the AI a role to play, you can generate some surprisingly high-quality content to plug right into your storyboard.
Give these a shot on your next project:
See the difference? Giving the AI context and guardrails helps it produce something you can actually use.
Stuck on how to visually represent a tricky, abstract concept? AI can be a brilliant brainstorming buddy here, too. This is where you can bridge the gap between an idea and the authoring tools you’re already using, like the Articulate Suite.
I often use AI to generate quick visual ideas. This helps me move so much faster from a rough concept to a tangible draft in tools like Articulate Storyline or Adobe Captivate. It's about enhancing your expertise, not replacing it.
For example, I might pop a prompt into an AI image generator like, "Create a simple, flat-style infographic icon representing 'agile project management'." The result probably won't be the final asset, but it gives me a solid visual direction to hand off to a graphic designer. It saves everyone time and gets us on the same page, fast.
This blend of AI and creative work is one of the most interesting tech trends in education: https://relevant.training/blog/tech-trends-in-education, and it’s completely changing how we build learning content.
Ultimately, just think of AI as your storyboard accelerator. It helps you draft quicker, smash through writer's block, and play with more creative ideas, while you always keep your hands firmly on the wheel of the final instructional strategy.
Even with a killer template in your back pocket, you’re bound to hit a few snags or have questions pop up. It happens to all of us. Let's dig into some of the most common questions that come up when instructional designers are deep in the storyboarding trenches.
This is a classic. Think of it like this: a script is just one piece of the puzzle. It’s the narration, the dialogue—basically, all the words someone will hear.
A storyboard, on the other hand, is the whole puzzle box. It’s the master plan.
The storyboard contains the script, sure, but it also maps out every single visual, every piece of on-screen text, and all the nitty-gritty notes for developers working in tools like the Articulate Suite or Adobe Captivate. It details every single interaction. The script is what your learners hear; the storyboard is the complete blueprint for what they see, hear, and do.
The honest answer? It depends entirely on who’s going to use it. If you’re a one-person army doing everything from design to development, you can probably get by with a leaner, less detailed storyboard. You know what you mean, after all.
But if you’re passing that storyboard to a developer, a graphic designer, and a subject matter expert for review, it needs to be bulletproof.
Here’s my golden rule: Could someone who knows nothing about this project pick up your storyboard and build the course exactly as you see it in your head? If there’s any hesitation, you need to add more detail.
Definitely start with a master template—that’s just smart. But you absolutely should tweak it for each project. Your template for a complex, branching video scenario is going to look a lot different than the one you use for a straightforward software simulation or a quick microlearning module.
For instance, a project with tricky branching scenarios might need dedicated columns for things like:
A simple click-and-read module won't need any of that. The most seasoned designers I know keep a small stash of core templates that they customize for their most common project types. This way, you’re always capturing the right information for the job at hand, which makes the handoff to development a whole lot smoother. It's all about being prepared, not rigid.
Ready to build better eLearning and find your next opportunity in the learning industry? Visit Relevant Training for expert content development services and a curated job board for instructional design professionals. Check us out at https://relevant.training.